![]()
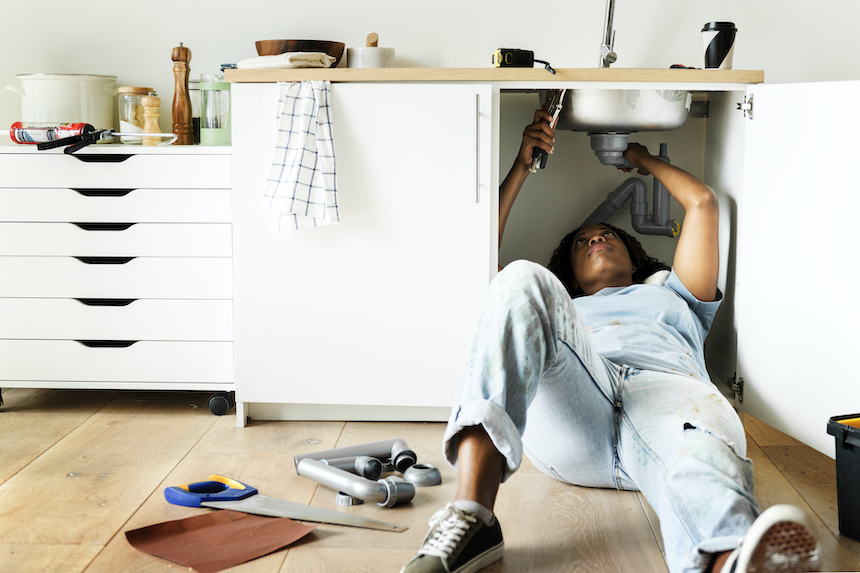
Plumbing problems are never fun, but they’re an unavoidable reality of homeownership. While some plumbing issues will require the help of a professional, there are a few basic repairs that every homeowner should know how to do. Keep reading to learn more.
1. Fixing a Leaky Faucet
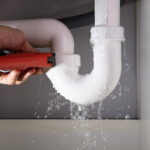
The first step is to identify the source of the leak. Is it coming from the base of the spout or from around the handle? Once you’ve located the source of the leak, tighten the packing nut until it stops leaking. If that doesn’t solve the problem, you may need to replace the washer.
2. Unclogging a Sink
First, try using a plunger. If that doesn’t work, you can try using a plumber’s snake. Insert the snake into the drain and turn it clockwise until you feel resistance. Then, continue pushing it down until you feel it hitting something. Once you’ve located the clog, turn the Snake counterclockwise to loosen it and pull it out.
3. Fixing a Running Toilet
There are a few different things that could be causing your toilet to run constantly. The most common culprit is a faulty flapper valve. To fix this, simply remove the old flapper and install a new one. If you aren’t comfortable with doing this yourself, you can hire a professional. Companies like Heaney Plumbing & Heating can help.
4. Unclogging a Showerhead
First, remove the shower head by unscrewing it from the pipe. Next, soak the shower head in vinegar for about 30 minutes to dissolve any mineral deposits that may be clogging it up. After 30 minutes, scrub away any remaining deposits and reattach the shower head to the pipe.
5. Fixing a Slow Drain
First, pour 1/2 cup of baking soda down the drain and follow it with 1/2 cup of vinegar. Allow this mixture to sit for about 15 minutes before running hot water down the drain for about 5 minutes. This home remedy will usually do the trick!
6. Fixing a Cracked Tile
Cracked tiles can be fixed relatively easily with some tile adhesive and grout. First, apply tile adhesive to the back of the cracked tile and press it firmly into place on the wall or floor. Next, use a grout float to apply grout around the tile in order to fill in any gaps and smooth everything out. Allow everything to dry for at least 24 hours before using the area again.
7. Fixing a Creaky Floorboard
Floorboards often start creaking when they become loose or when there is too much weight on them. In order to fix this issue, start by locating all of the floorboards that are creaking. Once you have found them, use screws or nails to reattach them securely to the floor joists. If your floorboards are particularly squeaky, you might need to add some support by installing some plywood underneath them. Just cut pieces to fit snugly between the floor joists before screwing them into place.
Be sure not to over tightened the screws or nails, as this might cause more damage. Also, be sure that any furniture is evenly distributed several feet apart so that only small amounts of weight are on any single floorboard at once. By following these steps, you should have no problem getting rid of those pesky creaks! But if your problems persist, don’t hesitate to call in professional help.
These seven basic plumbing repairs should be fairly easy for any homeowner to do themselves—saving time and money in costly repairs! However, if your plumbing problems persist after trying these solutions, don’t hesitate to call in professional help.
- 5 Ways To Make Your Loved One’s Birthday Extraordinary - May 1, 2024
- Run a Hospital? 5 Things You Can’t Go Without - March 25, 2024
- 5 Reasons To Go for Custom-Made Engagement Rings - March 15, 2024
More from Anne Cohen Writes
 Top Four Areas of Your Home Where Plumbing Concerns Often Arise
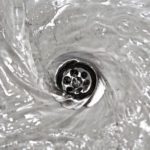 What Should You Do When Grease Has Clogged Your Kitchen Drain
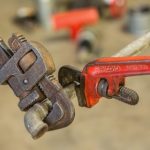 Here’s a List of Plumbing Repairs You Should Never DIY
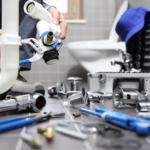 What Creates the Perfect Bathroom
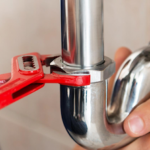 The Best Non-Invasive Pipe Repair Methods for Your Home
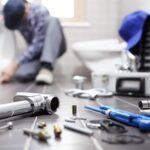 DIY Home Plumbing Fixes for Every Homeowner
